REVIEW · WHISTLER
Zipline Adventure in Whistler
Book on Viator →Operated by Ziptrek Ecotours · Bookable on Viator
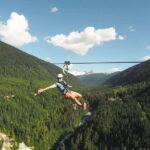
You’ll hear the forest before you fly. This Whistler zipline adventure sends you across an old-growth temperate rain forest from treetop platforms and suspension bridges, with views over white-water rivers and alpine trees. I love the gravity-fed design and smooth stops, which make the experience feel controlled instead of chaotic. I also love the small max group of 8, plus the steady guidance from pros like Elise and Laura, so you’re not left figuring anything out alone.
One thing to plan for: there’s hiking and stairs between zipline stages. If you have knee issues or you just don’t want a leg workout, choose your route thoughtfully and wear footwear that’s up to stairs and wet ground.
In This Review
- Quick hits before you book
- Why Whistler’s zipline feels different than “just flying”
- Bear vs Eagle: picking the route that fits your body and your nerves
- From Carleton Lodge to Ziptrek check-in: what happens in the 2 hours 30 minutes
- The ride mechanics: gravity-fed lines and smooth braking
- What you pass through: suspension bridges, treetop platforms, and trail connectors
- Winter in Whistler: snow-covered trees and a different kind of adventure
- Price and value: what your $126.41 is really buying
- Safety and comfort: what’s included, and what you control
- Who should book Ziptrek, and who should rethink it
- A note on group size and timing: multiple departures keep it flexible
- FAQ
- FAQ
- How long is the zipline tour in Whistler?
- Where is the meeting point?
- Does the tour include transportation from Whistler Village?
- What’s included in the price of $126.41?
- What’s the difference between the Bear and Eagle tour options?
- How many people are in the group?
- Is there a weight limit for the tour?
- What shoes do I need to wear?
- What happens if weather is poor or I need to cancel?
- Should you book Ziptrek Ecotours in Whistler?
Quick hits before you book
- Two route choices (Bear or Eagle) so you can match the day to your crew’s comfort and stamina
- Old-growth forest setting with suspension bridges, treetop platforms, and ground trails
- Gravity-fed ziplines mean you focus on looking out, not controlling speed
- Guides stay hands-on with safety checks and helping rides connect at each stage
- Small groups (up to 8) for a more personal feel
- Winter-friendly vibes from snow-covered trees and a winter mix some riders describe
Why Whistler’s zipline feels different than “just flying”
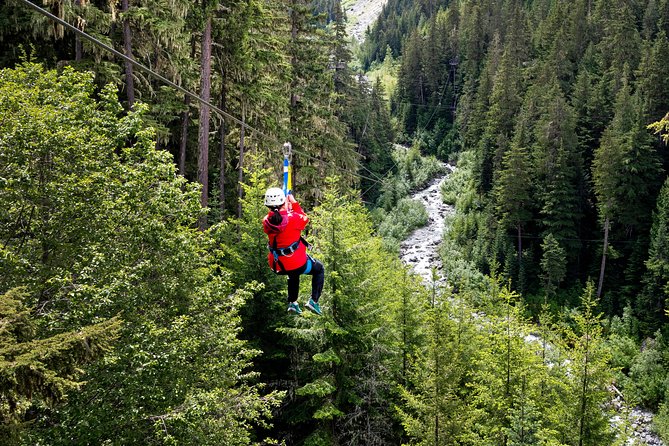
Whistler ziplines can be loud and fast, but this one is built around the forest. You’re not just strapping on a harness and launching into the air. You travel through an old-growth temperate rain forest, so the scenery changes as you move: canopy views, river glimpses, and quick moments standing on observation platforms before your next line.
What makes it feel special is the pacing. There’s enough time on the platforms to take a breath, reset, and absorb what’s around you. Then the next zip pulls you forward in a way that stays smooth and predictable, which matters more than people expect when it’s your first time.
Bear vs Eagle: picking the route that fits your body and your nerves
You get two tour options, and the biggest difference isn’t just the scenery. It’s the feel of the day: how many zip rides you’ll string together, plus how much walking and stair time you’ll do between them.
Bear Tour
Bear has a minimum weight of 65 lbs. Many riders describe it as having a shorter set of zipline runs (often four main lines). It can be a good option if you want the thrill but you’d rather keep the total “up-and-down” feel a bit simpler.
Eagle Tour
Eagle has a minimum weight of 75 lbs, and it’s commonly described as a longer sequence of zips (often five lines). If your group enjoys building confidence with one line after another, this can feel like the more “full” adventure.
Here’s the smart way to decide: be honest about your tolerance for stair sections and uphill trail segments between platforms. One of the most repeated themes from real riders is that the zipping is the fun part, while the walking and stairs are the leg workout. If knee issues are on your radar, going in prepared (and choosing the route that feels right) will make the whole day better.
From Carleton Lodge to Ziptrek check-in: what happens in the 2 hours 30 minutes
Most of your morning or afternoon is taken up by the actual circuit, but the start matters. You meet at Carleton Lodge, 4280 Mountain Square, Whistler. Then you get transported from Whistler Village to the zipline area and back again, which is a big relief if you don’t want to coordinate parking or extra local shuttles.
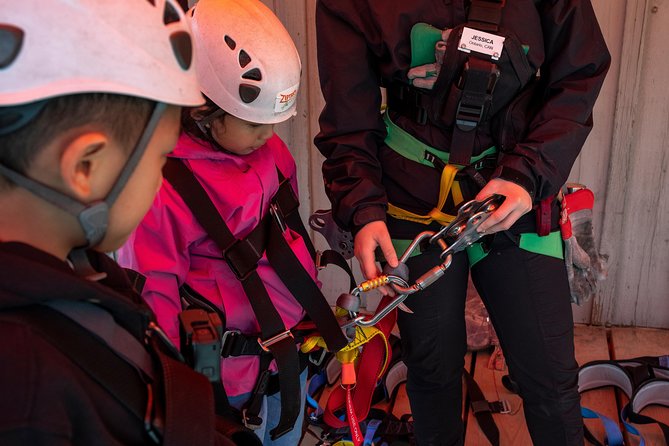
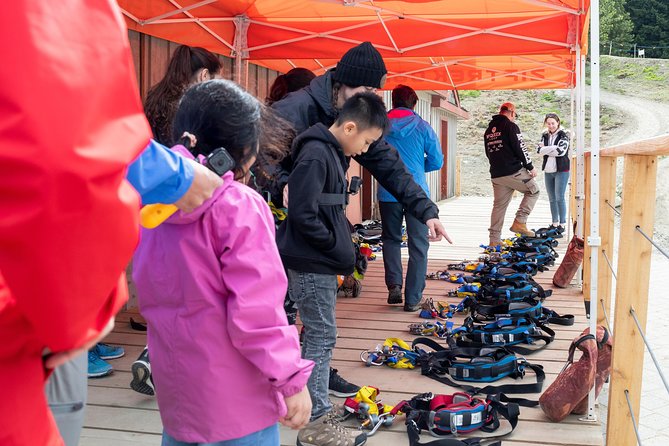
At check-in, you’ll meet your guides and get fitted with your harness and climbing helmet. This matters even if you’re the confident type, because the fit needs to be right before you clip in and go. You also get safety instructions and support from start to finish, not a one-time talk and good luck.
The tour itself runs about 2 hours 30 minutes. That time includes the equipment fitting, the series of zip rides and connector sections, and the return to ground level and back to Whistler Village.
The ride mechanics: gravity-fed lines and smooth braking
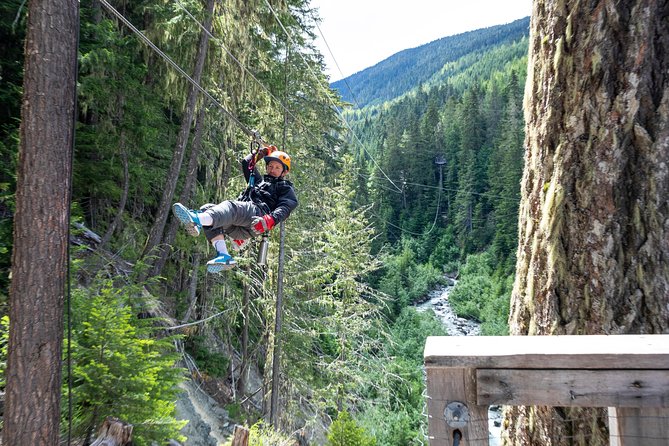
Here’s the part that makes people relax quickly: the ziplines are gravity-fed. You don’t have to control your own speed. You also don’t need to worry about braking in the way you might imagine from some other adventure parks.
Each ride finishes with a smooth deceleration using Ziptrek’s proprietary braking system. The big benefit for first-timers is mental. When you’re strapped in, your brain can stay focused on balance and scanning the view instead of watching the speedometer in your head.
Guides also handle the “how do I get from one stage to the next” puzzle. They accompany you as rides connect and disconnect at each portion of the course. So even when you’re waiting for the next step, there’s a clear process and someone keeping an eye on safety.
What you pass through: suspension bridges, treetop platforms, and trail connectors
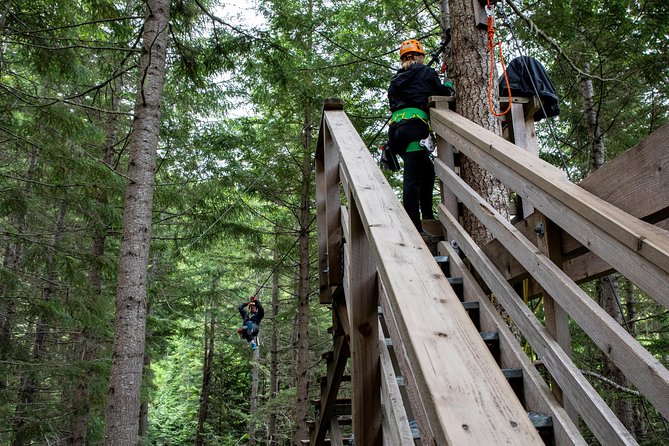
This is not a one-note zipline. The course is built as a chain of different environments, and that keeps your attention engaged.
On the course, you’ll move through a combination of:
- Suspension bridges
- Treetop observation platforms
- Ground-based trails between stages
- Zipline sections linking it all together
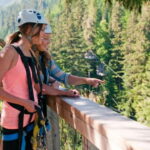
The bridges and platforms do two things. First, they give you a safer “stand and take it in” pause. Second, they create a sense of progression. You feel the forest up close, then you’re up in the air, then back on your feet again.
If you like learning while you travel, you’ll likely enjoy the time with your guides during these slower connectors. Several guides are described as professional and supportive while also helping people understand what they’re seeing in the forest environment.
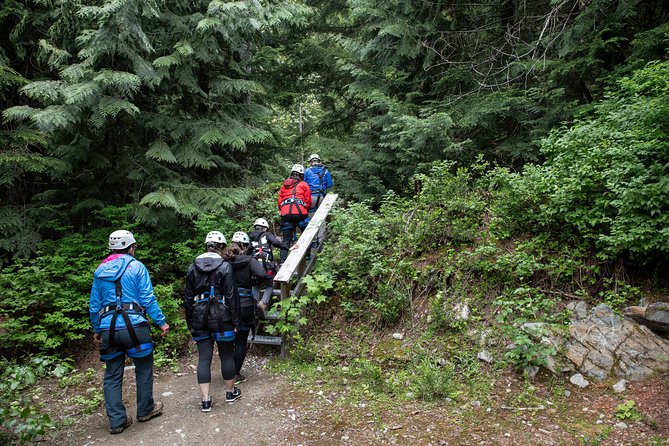
One practical note: these connector segments can involve stairs and uphill walking. You don’t need to be a marathon runner, but you do need legs that can handle repeated steps over the course of the afternoon.
Winter in Whistler: snow-covered trees and a different kind of adventure
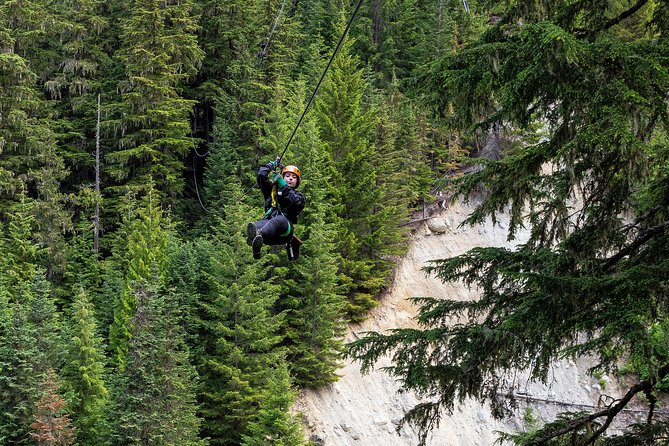
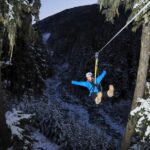
Whistler ziplining in winter has its own mood. Snow-covered trees can make the forest feel almost quiet, and the course can take on a slow-motion beauty you don’t get in summer.
One winter rider described the experience as a mix of snowshoeing-like walking and tree-top adventure. I can’t promise every departure will feel identical, but the takeaway is clear: weather changes the texture of the day, and you should dress for it.
The good news in the provided info is that the tour operates in almost all weather conditions. They also say that if it’s cancelled due to poor weather, you’ll get a different date or a full refund. So you’re not stuck with one outcome if conditions don’t cooperate.
Price and value: what your $126.41 is really buying
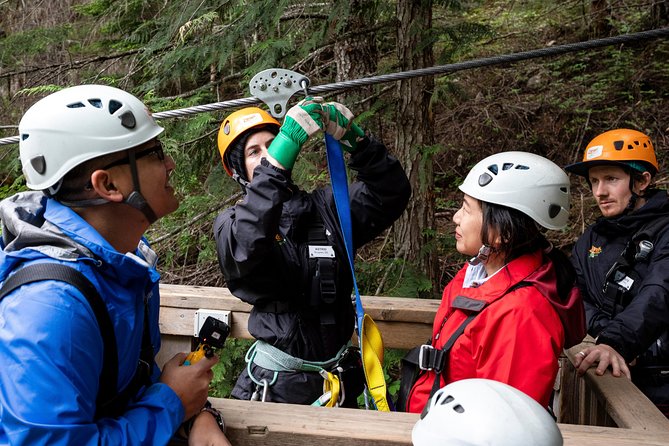
At $126.41 per person, this isn’t the cheapest thing in Whistler. But when you break it down, it’s easier to see the value.
You’re paying for:
- Professional guides handling safety and the ride sequence
- Harness and helmet included
- Transportation from Whistler Village and back
- GST included in the price
The small group size (up to 8) also matters. It usually means less waiting, clearer instruction, and a more organized flow through each stage. And the packed rating (4.9 with a very high recommendation rate) suggests the operation is doing the basics well: safety, communication, and a smooth experience end to end.
If you’re trying to decide whether it’s “worth it,” ask yourself this: do you want a guided, safety-first day in the forest with views most people won’t see? If yes, the price starts to make sense fast.
Safety and comfort: what’s included, and what you control
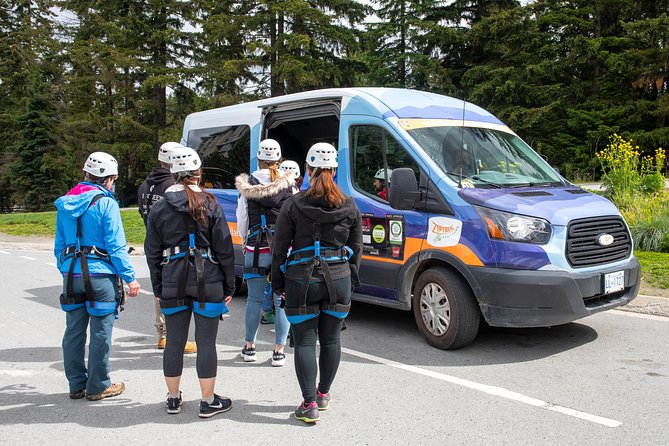
Safety here is very guided. You’re fitted with the necessary gear, and the guides provide instruction and support throughout. The ziplines are built so you don’t handle speed control yourself, and the course design uses a connect-and-disconnect process led by the team.
Your main responsibility is getting your body and gear ready for the course. Wear closed-toe, secure shoes. Sandals and slip-ons are not allowed, including Crocs and Birkenstocks. This is a simple rule, but it makes a big difference on wet ground or icy stairs.
Also remember the weight limits. Upper weight limit is 275 lbs. There are minimum weights for each tour: Bear minimum 65 lbs and Eagle minimum 75 lbs. If you’re traveling with kids or teens, this becomes part of your planning so everyone can match the correct route.
Who should book Ziptrek, and who should rethink it
This tour works for most people, including families, first-timers, and folks who are scared of heights but still want to try. The combination of clear guidance, helmet-and-harness support, and smooth ride mechanics can make it feel more approachable than you might expect.
It’s also a great choice if you want Whistler scenery from above but hate the idea of doing it with a complicated hike. You do hike between zips, but it’s part of a guided circuit rather than a self-directed route with uncertain footing.
But think twice if:
- Stairs and uphill segments are a problem for you or your group
- You’re traveling with someone who can’t meet the Bear or Eagle minimum weight requirement
- You don’t want to follow footwear rules closely (because you’ll be walking, standing, and climbing steps)
For older visitors, the consistent advice is that the “flying” part is easier than the connector hike. Plan around that reality.
A note on group size and timing: multiple departures keep it flexible
This activity runs multiple times throughout the day, which helps you build your Whistler schedule. And because your group is limited to a maximum of 8 travelers, the pacing tends to feel more orderly than the big-bus style tours.
It’s also a popular pick, so it makes sense to book ahead. The average booking lead time listed is about 24 days, which fits what you’d expect for a popular mountain-adventure day in Whistler.
FAQ
FAQ
How long is the zipline tour in Whistler?
It runs about 2 hours 30 minutes (approx.).
Where is the meeting point?
You meet at Carleton Lodge, 4280 Mountain Square, Whistler, BC V8E 1B9, Canada.
Does the tour include transportation from Whistler Village?
Yes. Transportation from Whistler Village to the tour area and back to the Village is included.
What’s included in the price of $126.41?
Harness and helmet, professional guided zipline safety, transportation from Whistler Village, and GST are included. Gratuity is optional.
What’s the difference between the Bear and Eagle tour options?
They are different routes. Bear has a minimum weight of 65 lbs. Eagle has a minimum weight of 75 lbs.
How many people are in the group?
This activity has a maximum of 8 travelers.
Is there a weight limit for the tour?
Yes. The upper weight limit is 275 lbs.
What shoes do I need to wear?
Closed-toe, secure shoes are required. No sandals or slip-ons like Crocs or Birkenstocks.
What happens if weather is poor or I need to cancel?
The tour requires good weather. If it’s cancelled due to poor weather, you’ll be offered an alternative date or a full refund. If you cancel yourself, you can get a full refund if you cancel at least 24 hours in advance; within 24 hours, it’s not refunded.
Should you book Ziptrek Ecotours in Whistler?
I’d book it if you want a guided Whistler zipline that prioritizes safety, keeps the experience smooth with gravity-fed rides, and gives you real forest-and-river views instead of just a quick thrill run. The small group size is a big part of the appeal.
I’d hesitate if your main issue is stairs or uneven footing, because the connector walking segments are part of the deal. If you can handle some uphill steps and you’ll wear secure closed-toe shoes, this is one of those activities that turns a normal day in Whistler into something you remember for the right reasons.