REVIEW · QUEENSTOWN
Small-Group Zipline Adventure in Queenstown
Book on Viator →Operated by Ziptrek Ecotours · Bookable on Viator
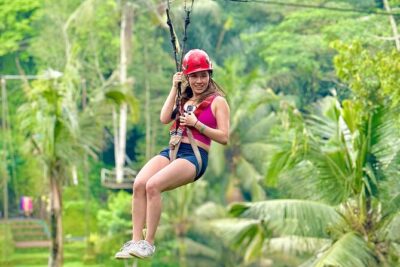
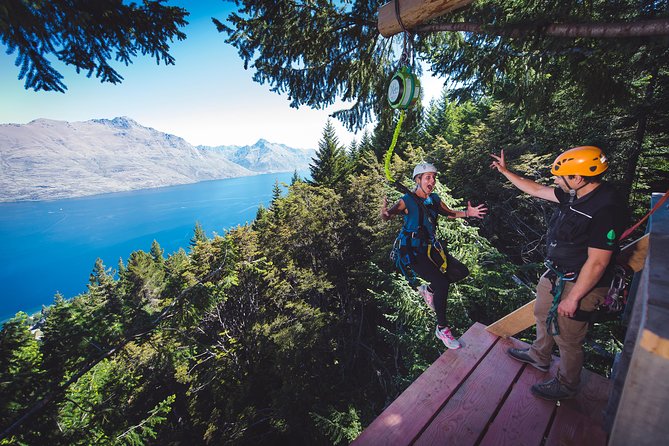
From the first platform, it feels like the mountain is calling. This Small-Group Zipline Adventure at Queenstown’s Skyline Treehouse sends you soaring through a beech forest canopy on the world’s steepest tree-to-tree zipline setup, high above Lake Wakatipu. You get panoramic views of the Remarkables range as you move from line to line with guides keeping things calm, safe, and fun.
Two things I really like: first, the small group size (up to 10) makes it easier for the guides to fit instruction to your pace. Second, the experience mixes adrenaline with the outdoors side, with the guides sharing ecology and Queenstown history while you’re waiting for your next run.
One consideration: the Skyline Gondola ticket is not included, and getting up to the summit takes real time. Plan for that, wear proper shoes, and bring layers—because even in summer, it can feel cold at the top.
In This Review
- Key highlights worth planning for
- Getting to the Ziptrek Treehouse on Skyline time
- Choosing between Ecotour, Kea, and Kereru
- The platform experience: gear, coaching, and nerves management
- Flying over Queenstown: beech forest canopy and big views
- How the 2 hours actually feel, and what to pair with
- Price, Gondola add-on, and whether it feels like a deal
- Who should book this zipline—and who should skip it
- Should you book Ziptrek in Queenstown?
- FAQ
- Where is the meeting point for the zipline?
- Is the Skyline Gondola ticket included in the price?
- How long does the zipline tour take?
- What’s included in the tour price?
- What should I wear for the tour?
- What are the weight limits?
- Are there age requirements for kids?
- What is the cancellation policy?
Key highlights worth planning for
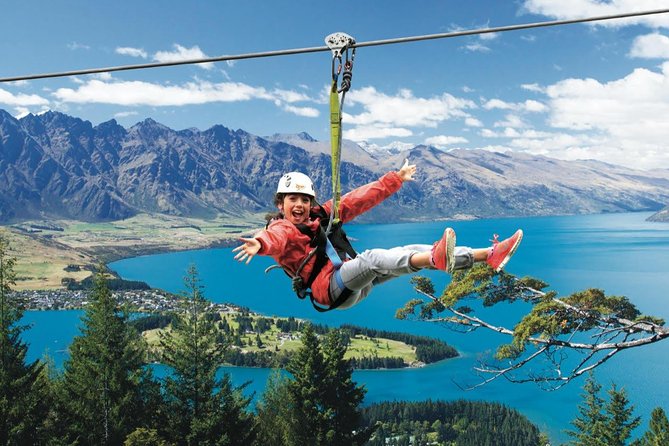
- World-class views from 450 meters (1,500 feet) up with Lake Wakatipu and the Remarkables in view
- Three different course styles from beginner-friendly to a steeper option with a 68-foot (21-meter) drop
- Two professional guides working with a small group, so you get hands-on coaching
- Safety gear included, plus hats and gloves in winter
- A beech forest ride that feels like you’re gliding through the canopy, not just over open air
Getting to the Ziptrek Treehouse on Skyline time
Your adventure starts at the Ziptrek Treehouse check-in area, at the top of the Skyline Gondola complex in Queenstown. You’ll use a mobile ticket, and you’ll be meeting at the summit location (Top of Gondola, Queenstown 9300).
Here’s the practical part that can make or break your timing: the gondola ticket is extra (NZ$66 per person), and it takes time even if everything runs smoothly. The guidance is to allow at least 60 minutes to access the upper Skyline complex from the base terminal, and 90 minutes in peak times. If you show up “just in time,” you’ll spend your energy in lines instead of on the platforms.
Before you arrive, you also need to complete a Participant Consent Form via the link in your voucher. Do that at home or wherever you’re staying. It keeps your check-in moving and prevents stress right when you’re trying to enjoy the morning or afternoon.
You’ll want to dress for summit weather, not for “Queenstown at street level.” Bring an extra layer year-round, and plan on closed-toe shoes only—no sandals, flip-flops, or heels. Winter gloves and hats are provided in winter, but your baseline comfort still comes from good layers.
Choosing between Ecotour, Kea, and Kereru
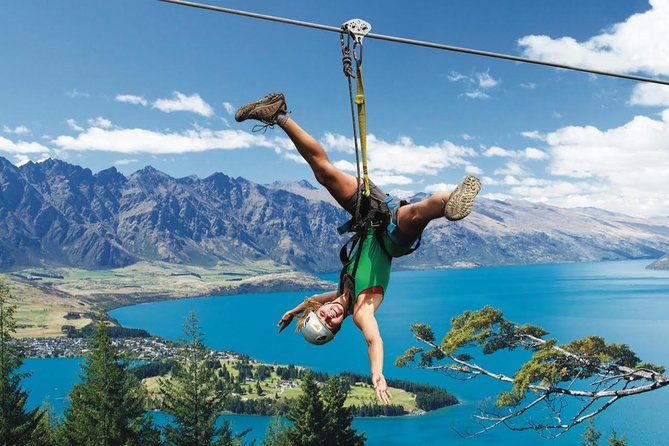
This is where Ziptrek becomes more than a thrill ride. You can pick a course style based on how you want the day to feel.
The big headline: you’re ziplining down a mountain through forest canopy, launching from aerial treehouse platforms at the Skyline summit. You can choose among three tour options that cater to beginners and to the more adrenaline-seekers.
What you can count on in all options:
- You’re guided through safe launches from each platform.
- You zip over a beech forest area with mountain and lake views.
- You learn a bit about the local ecology and Queenstown before you move on to the next line.
What changes by course:
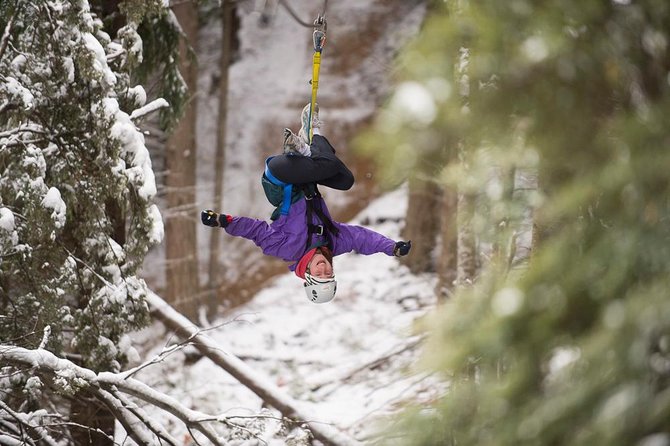
- One option includes a thrilling 68-foot (21-meter) drop (this is the Kereru course).
- Another option tones down adrenaline by going with a longer, less intense run that’s often a good fit for families with kids.
- The Kea tour has a minimum weight of 30kg (66lbs), which matters if you’re bringing smaller kids.
Two weight rules to keep in mind:
- Maximum weight is 125kg (275lbs) for any Ziptrek Ecotour.
- Kea specifically has that minimum weight of 30kg.
So if you’re traveling with mixed ages or different comfort levels, you’ll likely find a course that matches. And if you’re unsure, I’d treat it like this: start with the option that gets you confident in the setup. You can always decide later if you want the steeper lines.
The platform experience: gear, coaching, and nerves management
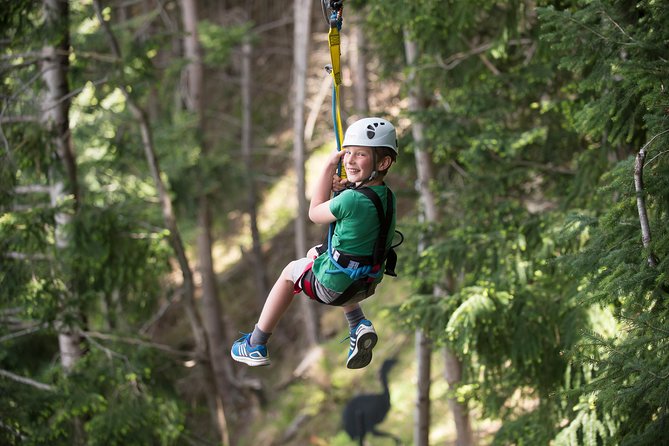
Once you check in at the Ziptrek Treehouse, the flow shifts from “waiting” to “gears on.” All equipment is included, and winter adds hats and gloves. That sounds simple, but it matters: you don’t have to chase rental gear or worry whether your setup is right.
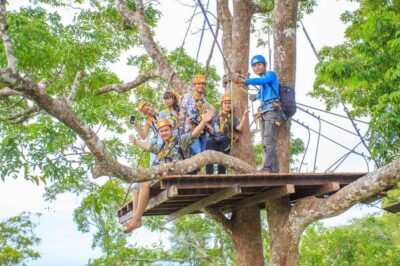
Your group goes out with two professional guides. That duo format is a smart choice because one guide can focus on the step-by-step launch process while the other watches the group and keeps the pace moving. It also helps when someone is nervous. In past groups, guides like Nic and Jacob, Emily and Nick, and Rhys and Pearl (names that show up in guide lineups) are repeatedly described as doing a good job with reassurance and clear instruction.
What the guides typically cover before you fly:
- How to launch safely from the aerial platforms.
- Basic handling and safety checks so you know what to do before you’re clipped in.
- Some education about what you’re seeing—flora, fauna, and the area’s ecology.
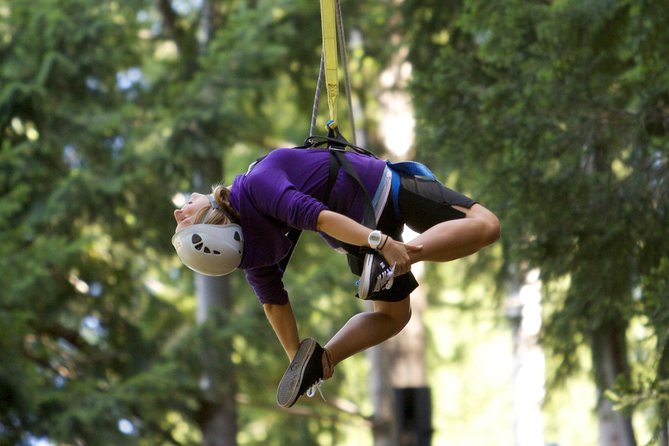
This is also one of the best parts for people who are afraid of heights. The ride is thrilling, but you’re not thrown into it with zero support. You’ll be coached as you go, not just handed instructions and sent on your way.
And yes, it starts with a little warm-up energy. Several people describe the day as working up gradually and then feeling more intense later. That pacing is useful. It gives your brain time to catch up to the height.
Flying over Queenstown: beech forest canopy and big views
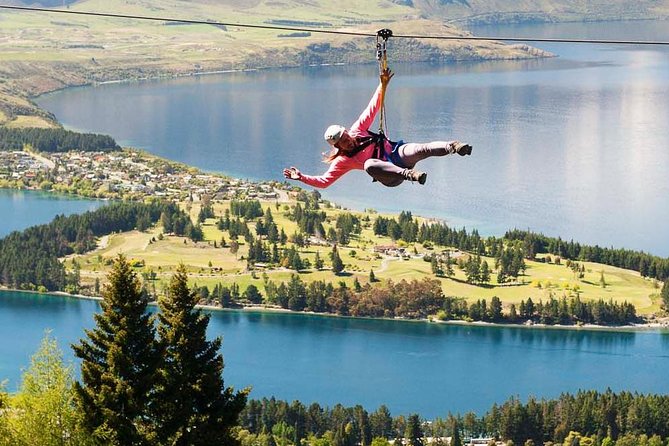
Now for the reason you’re doing this in Queenstown in the first place.
You’re ziplining down a mountain from the Skyline summit area, and the elevation is a key part of the wow factor: you’re around 450 meters (1,500 feet) above Queenstown as you cross those lines. The view is the star—Lake Wakatipu and the Remarkables mountain range show up again and again as you move from platform to platform.
The experience itself is built around the forest canopy. You’re not just flying across empty space; you’re gliding through a beech forest area, which changes the feel of the ride. It’s a different emotion than a coastline zipline. The trees break up the sightlines, and that makes the launches feel a bit more grounded, even when you’re high up.
Depending on the course you choose, you may do fewer or more lines. Some groups mention doing four lines, while others describe a six-line option. Either way, the guiding style matters: you’re treated as a group, and the guides keep you moving line to line at a steady pace.
One of the most memorable moments tends to be when your final stretch lines up the lake view clearly. It’s the kind of shot you can’t recreate from the ground. The ride gives you that “I’m flying above the postcard” feeling without needing a helicopter.
How the 2 hours actually feel, and what to pair with
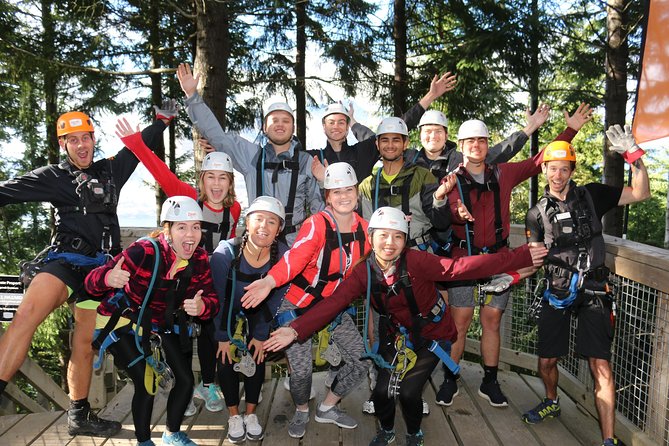
The tour duration is listed as about 2 hours, and that includes the real activity, not just the time between lines. Your time is spent in the zones that matter: check-in, getting suited up, safety guidance, the zip runs, and then finishing up at the same meeting point area.
Also plan for weather and for the fact that you’re on top of a mountain. Even if your ride is “only” two hours, you’ll need time to get to and from Skyline itself. If you’re doing other Skyline activities the same day, it’s smart to treat this as a centerpiece.
A tip from real-world pacing: some people liked pairing this with other fun on the mountain, like the luge, because it helps you build a full Skyline block. The caution is simple: don’t stack too many summit activities back to back without allowing time for gondola access and your own wind-down after the ride.
One more practical note: the experience includes walking segments as part of the day’s flow. You may notice it more if you’re coming in expecting “sit, zip, sit, go.” Even if the ride is the main event, you’ll still do some moving between platforms and at the end of the course.
Price, Gondola add-on, and whether it feels like a deal
At $73.85 per person, the zipline portion itself is pretty strong value for what you get: guided launches, safety gear, and a whole course design built for different comfort levels. You’re paying for professional supervision plus a curated way to experience Queenstown’s height and views without having to plan the logistics alone.
The catch is that Skyline Gondola tickets are not included. The gondola is NZ$66 per person, and that changes the math. If you were going to ride Skyline anyway—say for the gondola ride itself or other top-of-mountain activities—then the incremental cost of ziplining starts to feel more worthwhile.
If, however, your plan is gondola once, zipline once, and no other summit activities, the total cost will feel higher than the zipline price alone. Reviews also hint that the gondola fee and time are part of the decision, especially if you were hoping for a standalone activity at the summit.
A smart way to reduce regret is to build your day around Skyline. If you’re already paying to be there, ziplining becomes a way to add a high-impact experience while you’re already set up at the top.
One more pro tip: some people report that if you get a Ziptrek stamp, you may be able to use the same gondola ticket to get back up. That could save time or reduce frustration if you’re planning to spend more time at Skyline after your zipline. It’s worth asking at check-in so you don’t guess.
Who should book this zipline—and who should skip it
This tour is a great fit if:
- You’re a beginner who wants clear coaching and a guided way to handle nerves.
- You want Queenstown’s adrenaline vibe without needing to be an extreme athlete.
- You like the idea of learning a little about local ecology while you’re doing something fun.
- You’re traveling as a group where everyone isn’t at the same comfort level (the three course options help).
It also works for families, especially if you pick the course style that tones down intensity. People mention kids enjoying it with the right course and supportive guidance.
But don’t book if:
- You’re over the 125kg (275lbs) maximum weight.
- You’re pregnant (pregnant women are unable to go on tour).
- You have a medical condition or recent injury and you haven’t discussed it with the provider—bring it to their attention.
Age rules matter too:
- Youths under 14 must be accompanied by a paying adult (15 and over).
- Those 17 and under must have a waiver signed by a parent or guardian who is 18+.
If you’re traveling with someone who’s very nervous, you can still do this. The guidance is set up to help people through the experience step-by-step. I’d still suggest choosing the course that matches comfort, because the steeper option with the 68-foot drop is the kind of thrill that’s amazing for some people and too intense for others.
Should you book Ziptrek in Queenstown?
Book it if you want a real Queenstown zipline experience with big views, expert guides, and course options that match your comfort level. The small group size and the fact that safety gear is included make it feel less like chaos and more like a well-run adventure.
Skip it or reconsider if the gondola cost and summit timing are a budget stress for you. When you treat Skyline as part of the day plan, the value makes more sense. If you’re only trying to “do one thing,” the add-on cost can make the total feel steep.
If you’re on the fence, my advice is simple: pick the course option that matches your nerves, not your ego. That way, the best part of the day stays the views and the feeling of flying, not the anxiety.
FAQ
Where is the meeting point for the zipline?
You meet at Ziptrek Treehouse for tour check-in, located at the top of the Gondola in Queenstown.
Is the Skyline Gondola ticket included in the price?
No. Skyline Gondola tickets are not included. The price listed for gondola access is NZ$66.00 per person.
How long does the zipline tour take?
The tour duration is approximately 2 hours.
What’s included in the tour price?
The tour includes the zipline experience, two professional guides, all zipline equipment, and hat and gloves in winter.
What should I wear for the tour?
Bring an extra layer of clothing year-round, and wear closed toe shoes. Sandals, flip-flops, and heels aren’t allowed.
What are the weight limits?
The maximum weight limit is 125kg (275lbs). The Kea tour also has a minimum weight of 30kg (66lbs).
Are there age requirements for kids?
Yes. Youths under 14 must be accompanied by a paying adult (15 and over). Those 17 and under must have a waiver signed by a parent or guardian who is 18 or over.
What is the cancellation policy?
Free cancellation is available up to 24 hours in advance for a full refund. If you cancel less than 24 hours before the experience starts, the amount paid is not refunded.